How to Install Handrail and Deck Railing: Posts, Balusters, and Caps Step by Step
If your deck railing wobbles when you lean on it, you already know something is wrong. The question is what to do about it. This guide walks through how to install handrail and deck railing the way a builder does it: posts first, then rails, then balusters, then caps. Along the way, you will see why older Henderson decks fail at the railing before anything else, and how to judge whether your project is a weekend job or one that needs a pro.
A loose railing is not a cosmetic problem. It is the one part of a deck that people actually push against, lean over, and grab on stairs. On decks built in the 1990s and 2000s around Green Valley and older Henderson subdivisions, the railing is usually the first thing the sun destroys. UV breaks down wood fibers at the post tops, fasteners back out as lumber shrinks in dry heat, and the connection at the rim joist loosens a little more every summer. Understanding the installation sequence helps you spot where your current railing went wrong, even if you never pick up a drill yourself.
Before You Start: What a Safe Railing Has to Do
A deck railing has one job: stop a falling person. Codes in Clark County and the City of Henderson generally require guards on decks above a certain height, with rails strong enough to resist a hard push and baluster spacing tight enough that a small child cannot slip through. Stairs with several risers typically need a graspable handrail as well. The details live in the adopted building code, and as of 2026 they can change with each code cycle, so confirm current requirements with the city before you build.
Two other Henderson-specific checks come first:
- Permits. Railing replacement tied to a new deck or a structural change usually runs through the city or county permit path. A straight swap of pickets may not, but ask before assuming.
- HOA design review. Most master-planned communities in Henderson review visible changes like railing style and color. Submit before you buy materials, not after.
In addition, think about material now, not later. Composite and powder-coated metal railings handle desert sun far better than bare wood. A west-facing wood cap rail can get too hot to touch on a July afternoon, which matters if the whole point of the project is making the space usable. If you are weighing wood deck railing ideas against composite, factor in heat and UV fade, not just the look on day one.
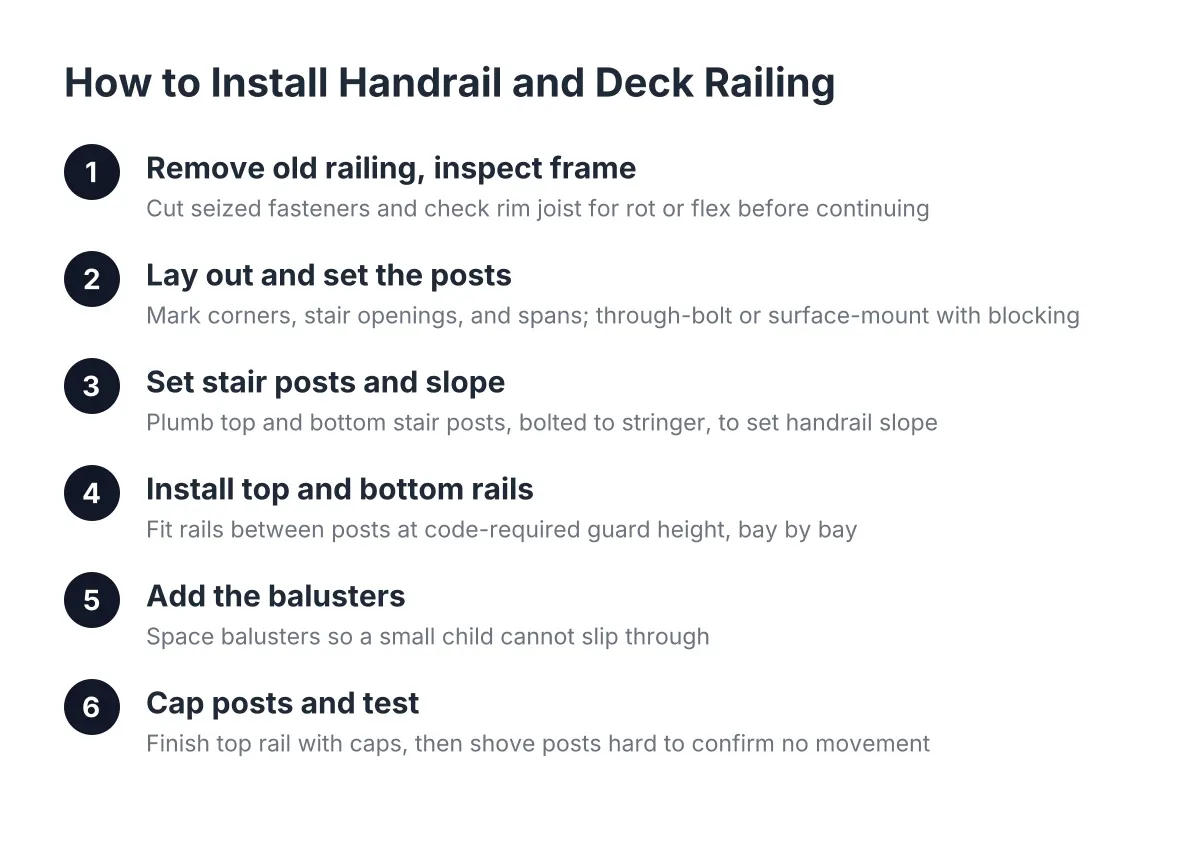
Step 1: Remove the Old Railing and Inspect the Frame
Start by taking the old railing off completely. Cut fasteners with a reciprocating saw if the screws are seized, which is common on sun-baked decks. Do not try to patch new posts onto a compromised frame.
Once the railing is off, inspect the rim joist and the deck framing where the posts attached. This is the step most homeowners skip, and it is the step that decides whether the new railing lasts. Look for:
- Soft or gray, checked wood at old post locations
- Rusted or corroded hardware
- Rim joists that flex when you push on them
- Ledger or joist connections that have pulled away
For example, say a homeowner in an older Green Valley subdivision pulls off a wobbly 25-year-old wood railing and finds the rim joist cracked at every post bolt. In that scenario, the fix is a frame repair before any railing work, and that is the point where a deck builder earns the call. A new railing bolted to rotten framing is a new railing that wobbles in two years.
Step 2: Lay Out and Set the Posts
Posts carry the entire railing, so layout and attachment matter more than anything that comes after. Mark post locations at every corner, at both sides of any stair opening, and at even intervals along each run. Most railing systems want posts spaced so the rail sections between them do not sag or flex; check the manufacturer's maximum span and stay under it.
For attachment, you have two sound options on a wood-framed deck:
- Through-bolted posts inside the rim. Notch nothing. Run the post down against the rim joist and through-bolt it with two offset bolts, with blocking behind the rim so the connection cannot rack.
- Surface-mounted posts with rated hardware. Metal and composite railing systems often mount on top of the decking with a base plate, but only over solid blocking, never into decking alone.
However you attach them, posts must not move when you shove them hard at the top. That is the field test. Lag screws alone into end grain, which is how many builder-grade Henderson decks were done, will not pass it. Plumb each post in both directions with a level before the bolts go fully tight.
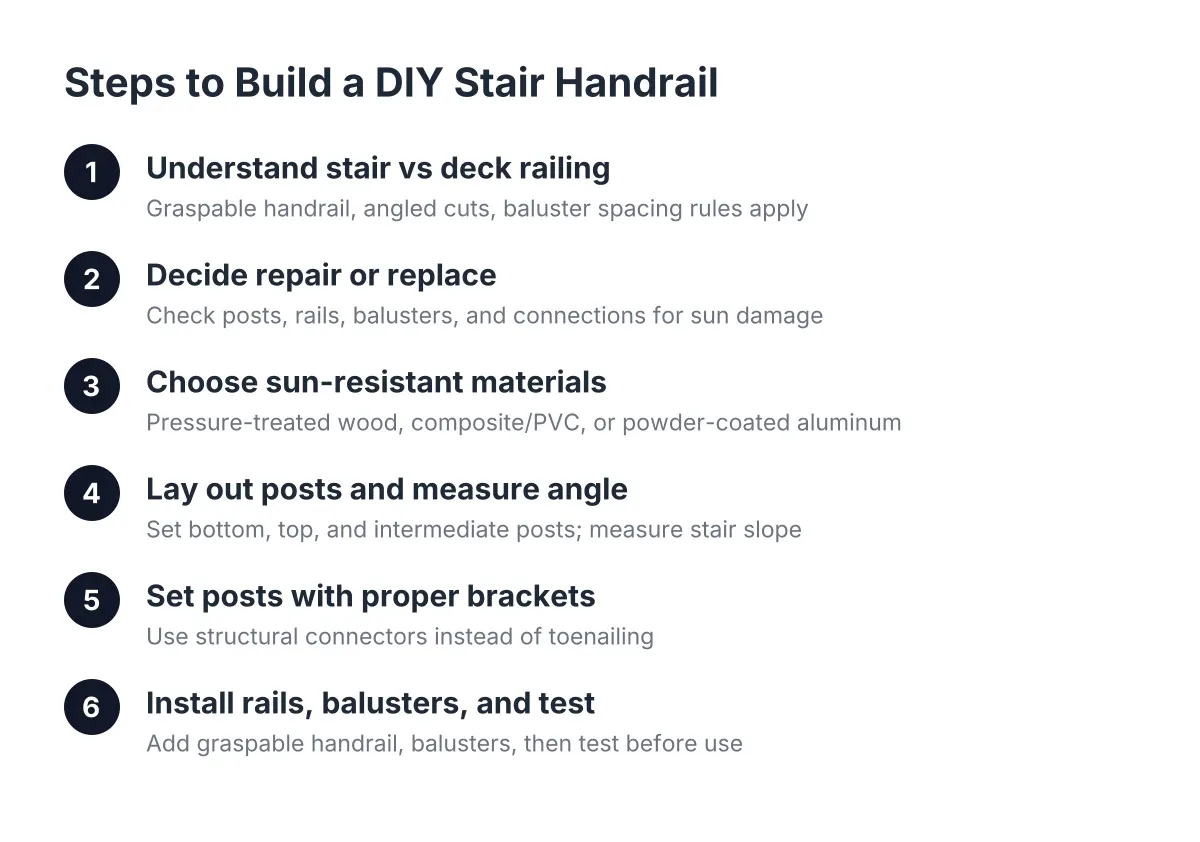
How to Install Handrail Posts and Stairs
Stair posts follow the same logic with one extra wrinkle: the rail between them runs at an angle. Set a post at the top of the stairs and one at the bottom, both plumb, both bolted to the stair stringer or framing with through-bolts and blocking. The handrail height gets measured vertically from the nose of each tread, so the top and bottom posts set the slope. Get these two posts right and the stair rail nearly builds itself. Anyone learning how to install handrail on deck stairs should set and brace these posts before cutting a single rail.
Step 3: Install the Top and Bottom Rails
With posts set, cut and fit the horizontal rails between them. For a wood railing, that means a bottom rail held a few inches above the decking and a top rail at the code-required guard height. Measure between each pair of posts individually; on an older deck, no two bays are the same.
Composite and metal railing kits simplify this step with brackets. Screw the brackets to the posts at the marked heights, set the rails into them, and fasten. The same bracket approach covers how to install handrail brackets on a wall-side stair run, where there is no post and the rail mounts directly to studs or masonry with rated anchors. On concrete steps, that means drilling for wedge anchors or sleeve anchors, not plastic plugs.
Keep rails level on flat runs and parallel to the tread noses on stairs. A rail that drifts out of level is visible from across the yard and impossible to unsee.
Step 4: Add the Balusters
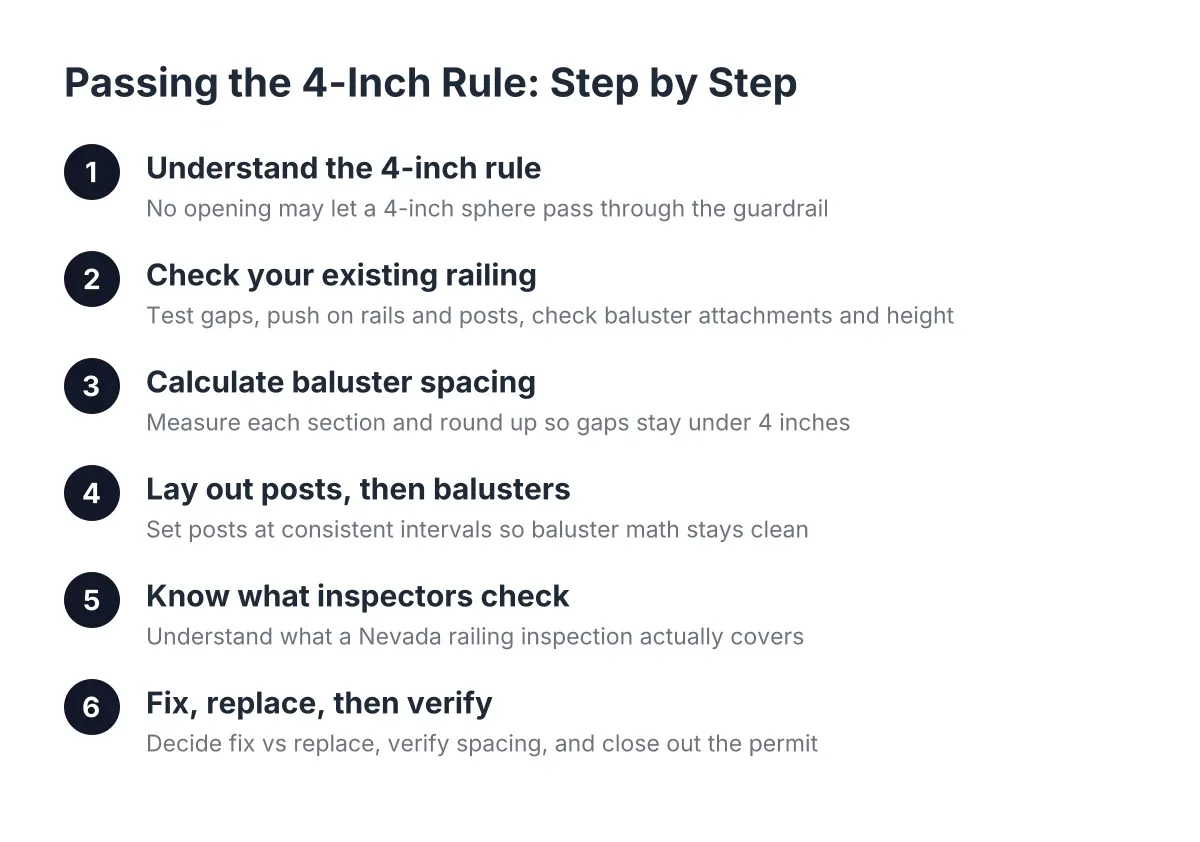
Balusters, the vertical pickets between rails, do the child-safety work. Space them so the gap between any two is tight enough to meet code; builders size the spacing so a small sphere cannot pass through, and they verify the exact figure against the current adopted code.
To get even spacing, measure the full bay, decide the number of balusters, and divide the leftover space into equal gaps. A spacing jig, even a scrap block cut to the gap width, keeps the run consistent. Fasten each baluster top and bottom with screws, not nails; nails back out in desert heat cycling. Round metal balusters in a kit system usually drop into pre-drilled rails or snap into connectors, which is one reason kits dominate replacement work.
For simple deck railing ideas that still look current, square composite balusters in a dark bronze or black read clean against a light deck board and hide dust better than white.
Step 5: Cap the Posts and Finish the Top Rail
The cap is the last structural piece and the first thing hands touch. On a wood railing, run a continuous cap board over the top rail and post tops, with joints landing on posts and fastened from below where possible so no screw heads sit in the sun-exposed top surface. Post caps, whether wood, composite, or solar, seal the post's end grain, which is where water and UV open cracks first.
On stairs, the graspable handrail is its own piece. Code wants a profile your hand can close around, mounted at a consistent height above the tread noses and returned to the post or wall at both ends so a sleeve or purse strap cannot catch. This is the heart of how to install handrail for outdoor steps correctly: continuous, graspable, solid, and returned at the ends.
Step 6: Test Everything Before You Trust It
Finish with a real load test. Push hard on every post at the top. Lean on the mid-span of each rail. Grab the stair handrail and yank it the way someone catching a fall would. Nothing should flex more than slightly, and nothing should creak or shift at a connection. Then walk the railing with a child's eye: any gap a kid could squeeze through, any splinter line on a cap, any sharp bracket edge at hand height.
If the project included new posts, a permit, or structural repair, schedule the inspection before you consider the job done.
When Replacement Beats Repair, and When to Call a Builder
Fixing a wobbly deck railing makes sense when the posts and frame are sound and one connection worked loose. Replacement makes sense when the wood is sun-rotted, the spacing fails current code, or you are resurfacing the deck anyway. Deck railing installation often rides along with a resurfacing or deck remodel because the labor overlaps; the crew is already pulling boards and opening up the frame.
There are honest trade-offs. A DIY wood railing costs the least up front but needs refinishing every couple of years in Henderson sun, and bare wood caps run hot. Composite and metal systems cost more per foot but shrug off UV and stay dimensionally stable through summer heat swings. And if your inspection in Step 1 turns up frame rot, undersized posts, or a deck that was never permitted, stop and bring in a deck builder; railing strength depends on structure you cannot bolt your way around.
Learning how to install handrail and railing components properly is worth your time either way. Even if you hire the work out, you will know exactly what to look for when the crew is done: plumb posts that do not move, even baluster gaps, a graspable stair rail with returned ends, and a cap that will still look good after its third Henderson summer.
If you need deck construction, Henderson Deck Co can help.
Prefer to talk it through? Call (725) 425-5179 — a quick call is usually the fastest way to get a straight answer for your situation.