DIY Handrail for Stairs: Deck Stair Railing Safety Rules and Installation Steps
Stairs are where old deck railings fail first. If your deck stairs have a wobbly rail, or no rail at all, building a DIY handrail for stairs is a weekend project most homeowners can handle, as long as you understand what makes stair railing different from the flat railing along the deck edge. The angles change, the grip requirements change, and the code rules change. This guide walks through the stair-specific requirements first, then the installation itself, written for Henderson homeowners dealing with decks that have taken years of desert sun.
Stair railing is not the place to wing it. A loose rail on a flat deck section is a problem; a loose rail on stairs is how someone ends up at the bottom of them. So before you pick up a drill, get clear on what the stairs actually require.
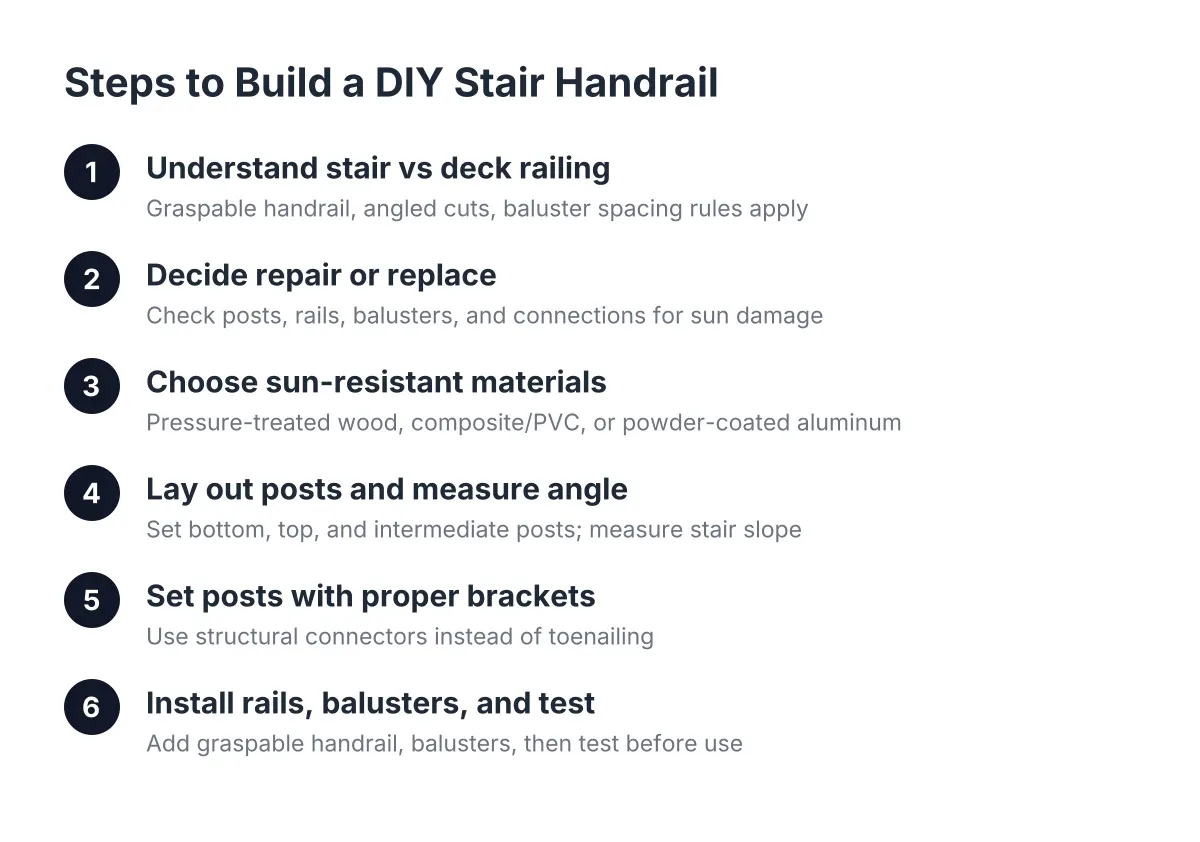
Step 1: Understand How Stair Railing Differs From Deck Railing
Three things separate stair railing from the guardrail that runs along your deck perimeter, and all three affect how you build.
First, stairs often need a graspable handrail, not just a guardrail. A guardrail keeps people from falling off the edge. A handrail is something your hand can wrap around while you climb. On most residential stairs with multiple risers, codes require a continuous, graspable handrail at a set height above the stair nosings. A flat two-by-six cap rail that works fine on the deck usually does not qualify as graspable on the stairs because your hand cannot close around it.
Second, everything is on an angle. Your posts stay plumb, but the top rail, bottom rail, and balusters all follow the slope of the stairs. That means angled cuts, angled brackets, and more careful layout than the flat sections.
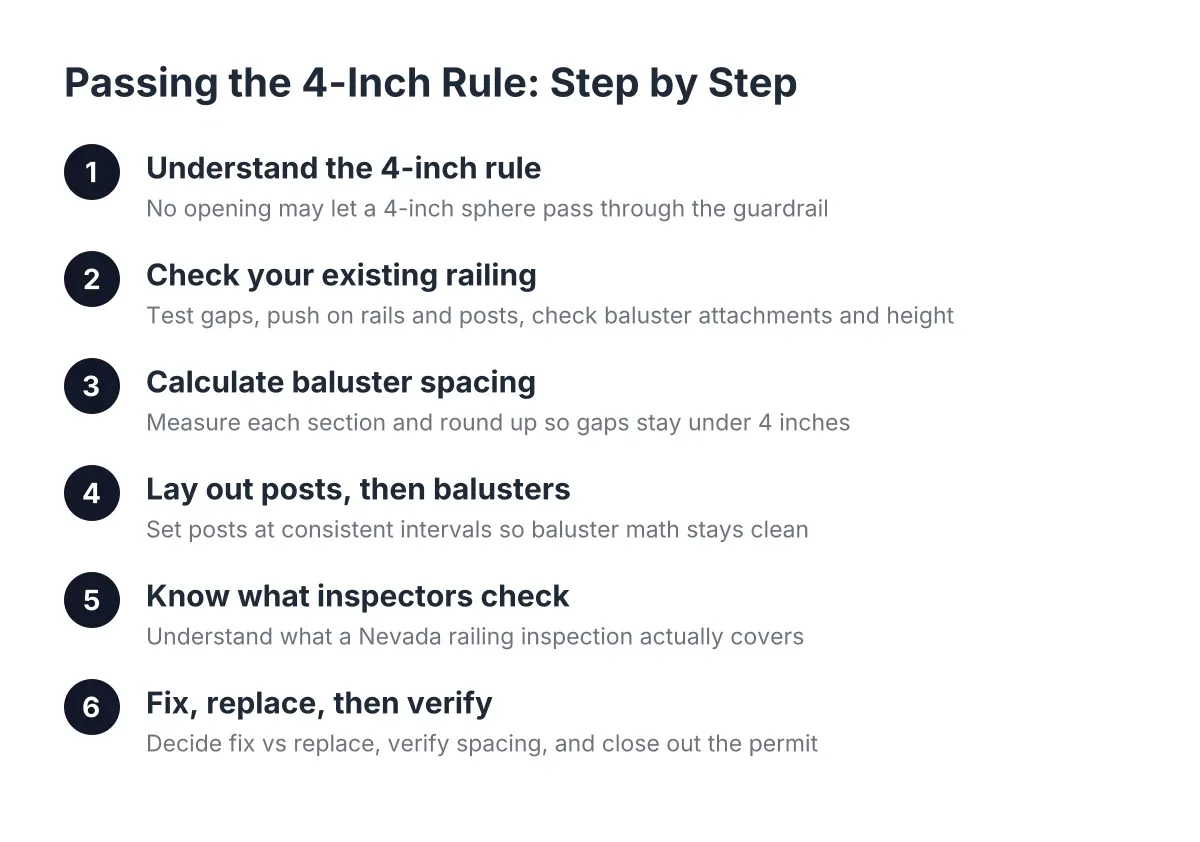
Third, baluster spacing rules still apply on the slope. The gaps between balusters have to stay tight enough that a small child cannot pass through, measured the same way as on the level sections. There is also a rule about the triangle formed by the stair tread, riser, and bottom rail; that opening has its own size limit.
Henderson sits under Clark County and city permit jurisdiction, and railing requirements can vary with deck height and project scope. Before you start a DIY handrail for stairs, check the current 2026 code requirements with the local building department, and check your HOA design guidelines if you live in a master-planned community. Many Henderson HOAs review visible changes to railings, especially color and material.
Step 2: Decide Whether Your Old Stair Railing Can Be Saved
An aging railing on a sun-beaten Henderson deck usually fails in one of three places. Check each before you decide between repair and replacement.
- The posts. Grab each stair post and push hard. If the post itself flexes at the base, the connection to the stringer or framing has loosened, or the wood around the bolts has cracked from UV exposure and dry heat. Loose fasteners can be retightened or upgraded; cracked, gray, checked wood around the connection means the post should be replaced.
- The rails and balusters. Splintering, deep checking, and warped top rails are common after a decade of desert sun. Surface damage can sometimes be sanded and sealed. Rails that have twisted or pulled fasteners loose are past saving.
- The connections. Old railings were often toenailed or screwed through the face of the post. Modern deck railing post brackets and structural connectors hold far better and resist the loosening that temperature swings cause.
Here is the honest trade-off: if the stair posts are solid and only the rail is failing, a repair makes sense. If the posts, rails, and balusters are all sun-damaged, replacing the whole stair run usually costs less over time than patching pieces one by one. And if the stringers or deck framing underneath are soft or cracked, stop; that is a structural repair, and a deck builder should look at it before any railing goes back on.
Step 3: Choose Materials That Survive Henderson Sun
Whatever you build has to live through triple-digit summers and intense UV, so material choice matters more here than in milder climates.
Pressure-treated wood is the cheapest option and easy to work with, but it checks, splinters, and fades fastest in desert sun. Plan on sealing it regularly. Composite and PVC railing systems resist UV fade and never splinter, which matters on a handrail your bare hand slides along in July. Powder-coated aluminum handles heat well, stays rigid, and most metal deck railings for do-it-yourself installation come as kits with pre-angled stair sections and matching brackets, which removes most of the tricky angle work.
One heat-specific note: a dark metal handrail in full afternoon sun gets hot enough to be unpleasant to grip. If your stairs face west with no shade, lean toward lighter colors or a composite rail with a cooler surface. For a deeper comparison of how wood, composite, and metal hold up locally, that decision deserves its own research before you buy.
Step 4: Lay Out Posts and Measure the Stair Angle
Start at the bottom of the stairs. You need a post at the bottom of the run, a post at the top where the stairs meet the deck, and intermediate posts if the run is long, spaced per the railing manufacturer or local code.
Next, find the stair angle. Rest a straight board on the stair nosings, set a level on top, and measure the angle, or mark where the board crosses each plumb post. Most residential deck stairs land in a similar slope range, but measure yours; never assume. Every angled cut on the rails comes from this one measurement, so take it twice.
Then mark handrail height. Measure up from the nosing of each tread along the plumb post and snap a line connecting the marks. The handrail must stay within the code height band along the entire run, which is why posts have to be plumb and consistent before any rail goes on.
Step 5: Set the Posts With Proper Brackets
Posts carry everything, so this is the step that determines whether your railing wobbles in two years.
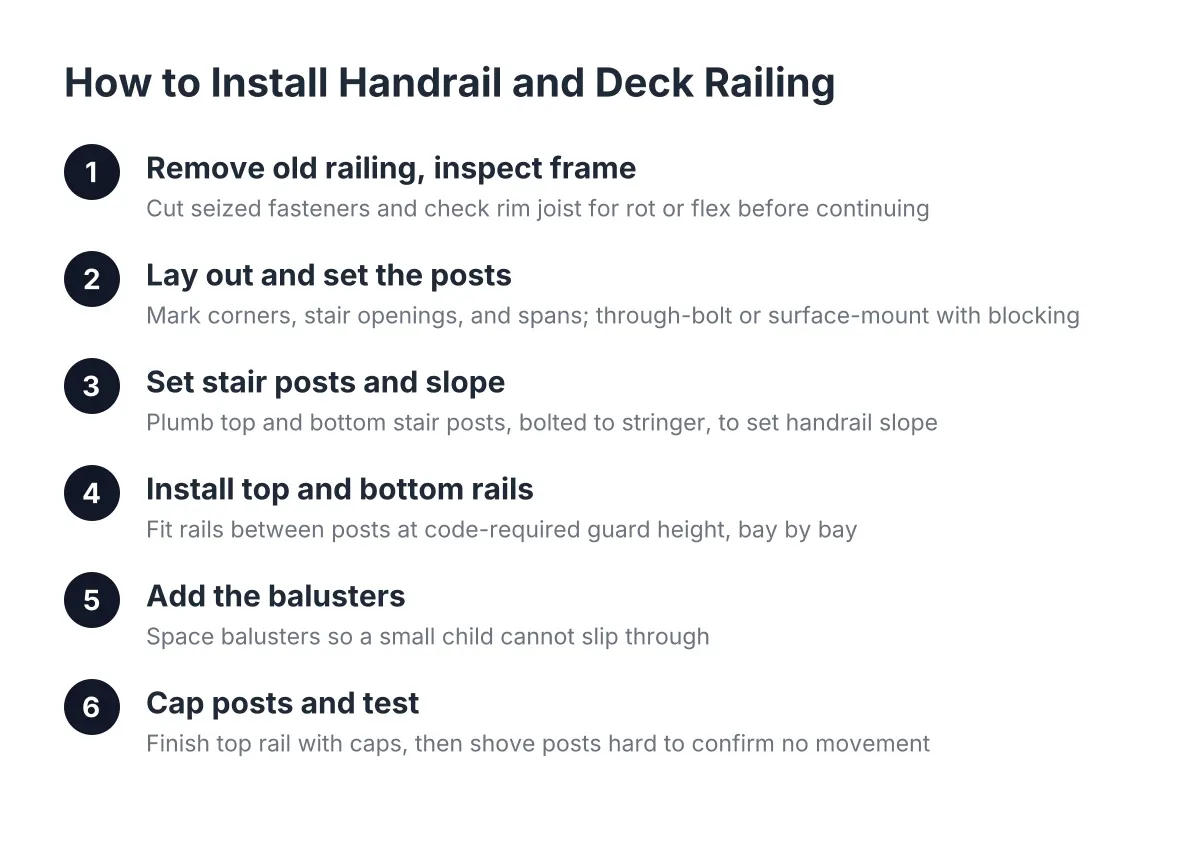
Bolt stair posts to the stringer or rim framing with through-bolts or structural screws rated for the connection, not deck screws. Where the framing allows, use deck railing post brackets or tension hardware designed for guard posts; they spread the load and resist the racking force a stair railing takes every time someone leans on it going down.
In addition, check what you are bolting into. On older Henderson decks, the stringer face may be checked and dried out from sun exposure. If the bolt crushes into soft wood, add blocking behind the stringer or sister a new piece alongside it so the hardware bites into sound material.
Step 6: Install the Rails, Balusters, and Graspable Handrail
With posts set, cut the top and bottom rails to the stair angle you measured. Angled rail brackets make this easier for building a DIY handrail for stairs because they let you fine-tune the fit instead of relying on a perfect miter. Attach the bottom rail first, keeping the tread-to-rail opening within the code limit, then the top rail along your snapped height line.
Install balusters plumb, spaced to meet the gap requirement measured perpendicular between them. A spacer block cut to the correct gap keeps the rhythm consistent down the slope.
Finally, add the graspable handrail itself if your top rail does not qualify. A round or shaped profile mounted on brackets along the inside of the stair run satisfies the grip requirement. The same wall-mount hardware used when learning how to install stair railing to a wall works here; fasten brackets into the posts or solid blocking, never into trim alone, and return the handrail ends toward the post or wall so clothing and hands cannot catch.
Step 7: Test Everything Before Anyone Uses the Stairs
Push, pull, and lean. Codes expect a railing to resist a substantial concentrated load, and your hands are the first inspection. Grab the handrail at the middle of the longest span and pull hard toward the stairs. Check every post again. Tighten anything that moved, and recheck fasteners after the first few weeks of summer heat, since wood shrinks and connections loosen in dry desert air.
Building a DIY Handrail for Stairs: Cost and Value
As a rough illustrative range, materials for a single stair run, posts, rails, balusters, hardware, and a graspable handrail, often land in the few-hundred-dollar range for pressure-treated wood and climb from there for composite or aluminum kits. Say a Henderson homeowner has a ten-year-old deck with four stairs and one failing rail; in that scenario, a DIY weekend rebuild of the stair railing alone is a realistic project, while hiring out professional deck railing installation for the full deck perimeter and stairs together is the more common path when posts and framing need work too.
The value case for keeping the whole deck sound is real. According to Zonda and the National Association of the Remodeling Industry, a wood deck addition recoups 95% of its cost at resale in the 2025 Cost vs. Value Report, and a safe, solid railing is the first thing a buyer or inspector grabs.
When to Stop and Call a Deck Builder
Know the limits of a DIY fix. If stair stringers flex underfoot, if posts cannot find solid framing to bolt into, if the deck is elevated enough that a railing failure means a serious fall, or if your project triggers a permit you are not comfortable managing, bring in a local deck builder. On a sun-damaged older deck, the railing is often the symptom and the framing is the disease, and a repair quote that addresses the framing is not an upsell; it is the honest answer.
Build the stair railing right once, with plumb posts, real structural hardware, and materials chosen for desert sun, and it will outlast the rest of the deck around it.
If you need deck construction, Henderson Deck Co can help.
Prefer to talk it through? Call (725) 425-5179 — a quick call is usually the fastest way to get a straight answer for your situation.